Monday, April 15, 2013

For Your 80th. Birthday


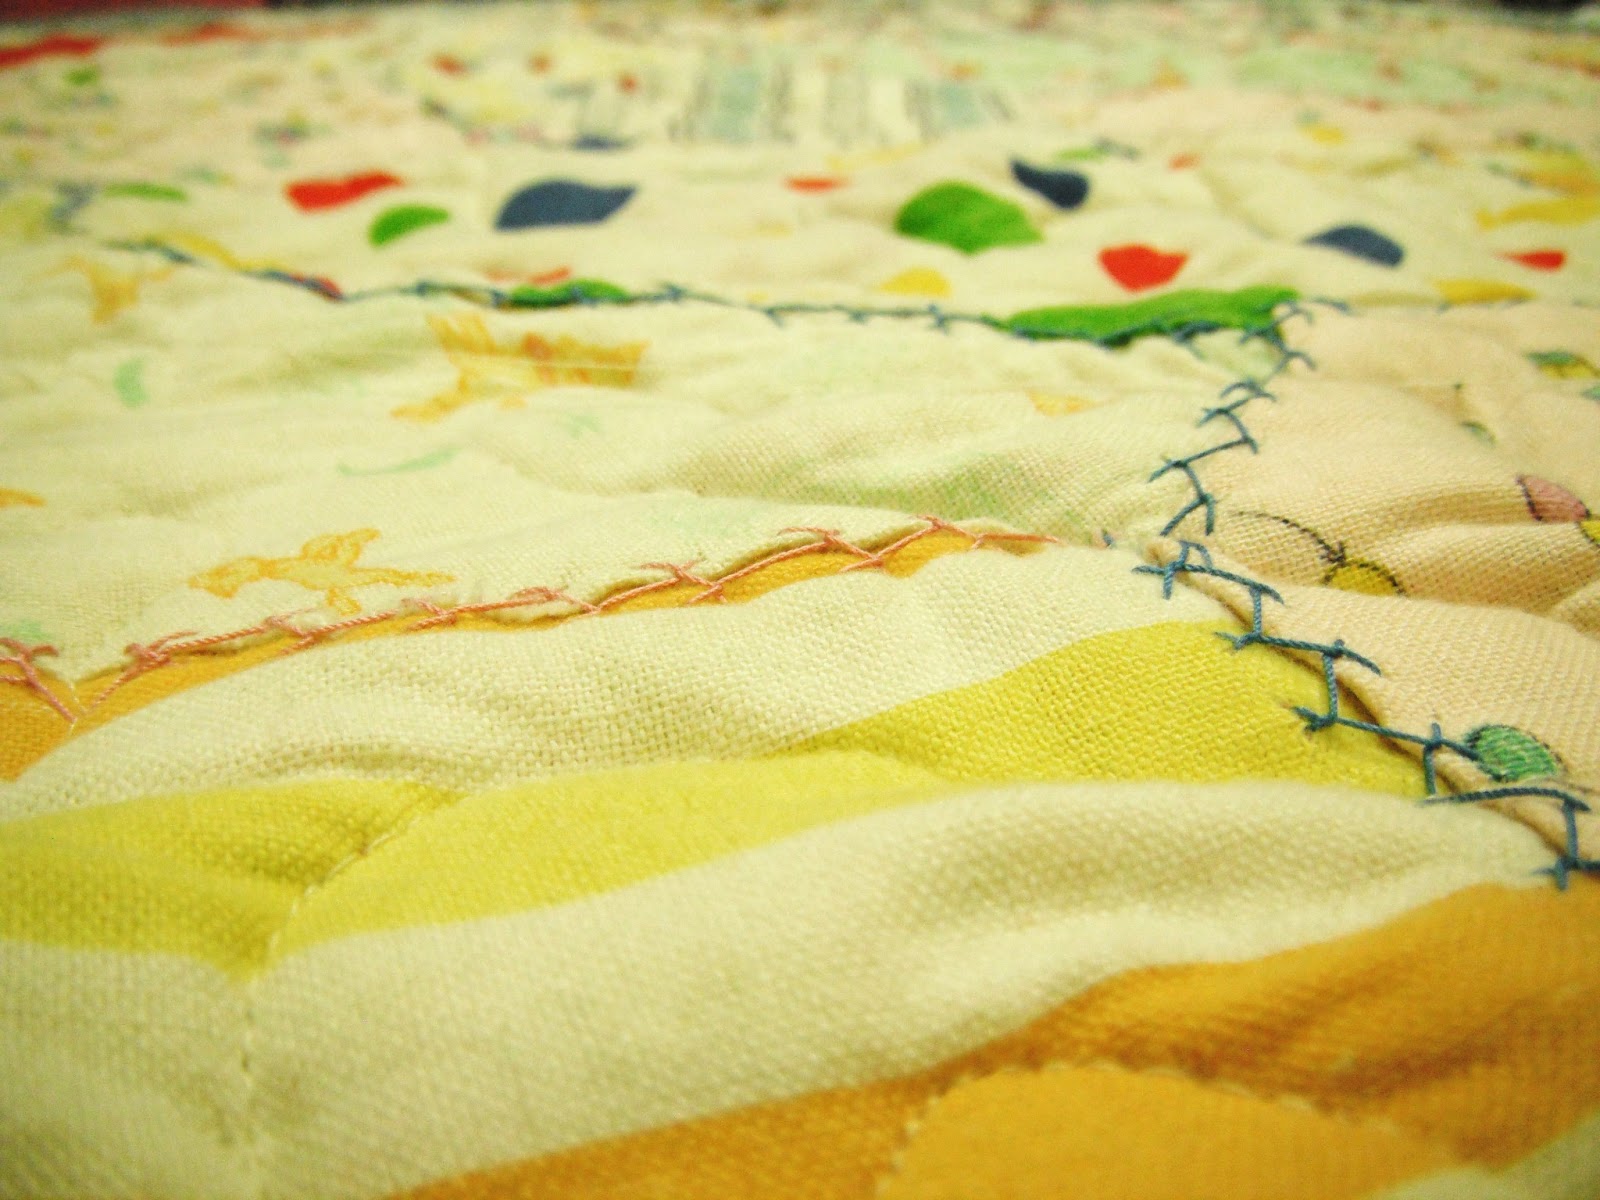
I'm just going to jump right into it otherwise I'm libel to get a little wordy over this project.  Pictured here are blocks taken from a quilt that was given to my Great Grandmother on her 80th birthday.  My aunt removed the blocks from the quilt and sent them to me so I could put them back together in a new way for my Granny's 80th birthday.  The problem was apparent to me right away, when I remembered that my Granny's birthday was a mere 4 weeks away.  Now before I continue on I would like to mention that the time constraint and ensuing stress were essentially all my own creation.  

So I picked out some fabric and sashed the blocks as was originally requested.  I had decided that the shape of the blocks really lent themselves best to a bed runner than anything, plus who really needs a quilt like this?  Then I was struck with an epiphany so brilliant I blinded myself to the complexity and absolute sheer ridiculousness of tackling a project of this magnitude.  So admidst massive renovation projects, two kids and all their activities, and the endless calls of a busy life, I decide to make these...


So what?  Big deal it's not excessively complicated... That is if I were only making 18 identical blocks, but nooooo.  I chose to make 18 completely different blocks, 9 inches square with the same overall theme.  18 blocks for all my Granny's special people.  I was lucky enough to have acquired a book called 501 Rotary-Cut Quilt Blocks by Judy Hopkins.  This book made the whole thing possible giving different measurements for every usual block size.  To save on your having to read an essay on the difficulty I had with this project lets just say that every block I created was both a huge accomplishment and a crushing defeat as I still had 'x' amount to go.  In the end I did finish all the blocks.  

Just because I know someone is going to want to know what these blocks are called here are the names of the blocks the book gave me. Right to left.

Top row: Fireflies, An Original Design, The Chinese Block Quilt, Hovering Hawks, Sunshine, Summer Winds

Middle row: Grandmother's Favorite, Indian, Indian Plumes, Jacks Delight, Double X #4, Duck and Ducklings

Bottom row: Fox Paws, The Wedding Ring, Carol's Scrap Time Quilt, Cat's Cradle, Kansas Troubles, Winged Square

The names of all my aunts, uncles, cousins, nieces, and nephew were written using a printout of their names, a light box, and a permanent fabric pen.

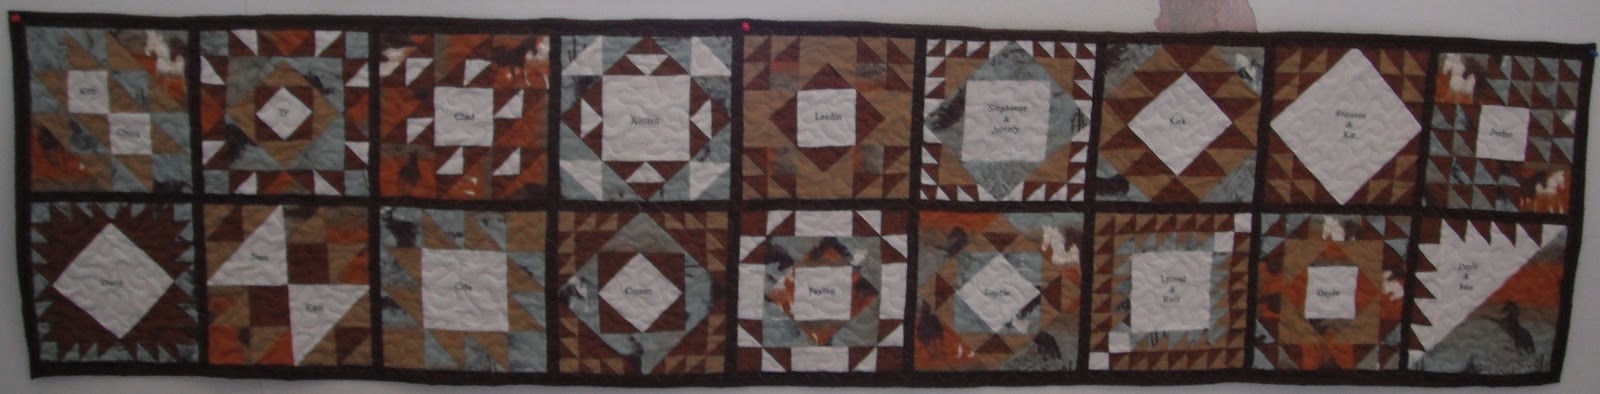
So I'm not gonna lie, I love it!  I'm not really sure how big a bed runner should be but this one ended up being approximately 22" x 82".  The points are not perfect but damn near.

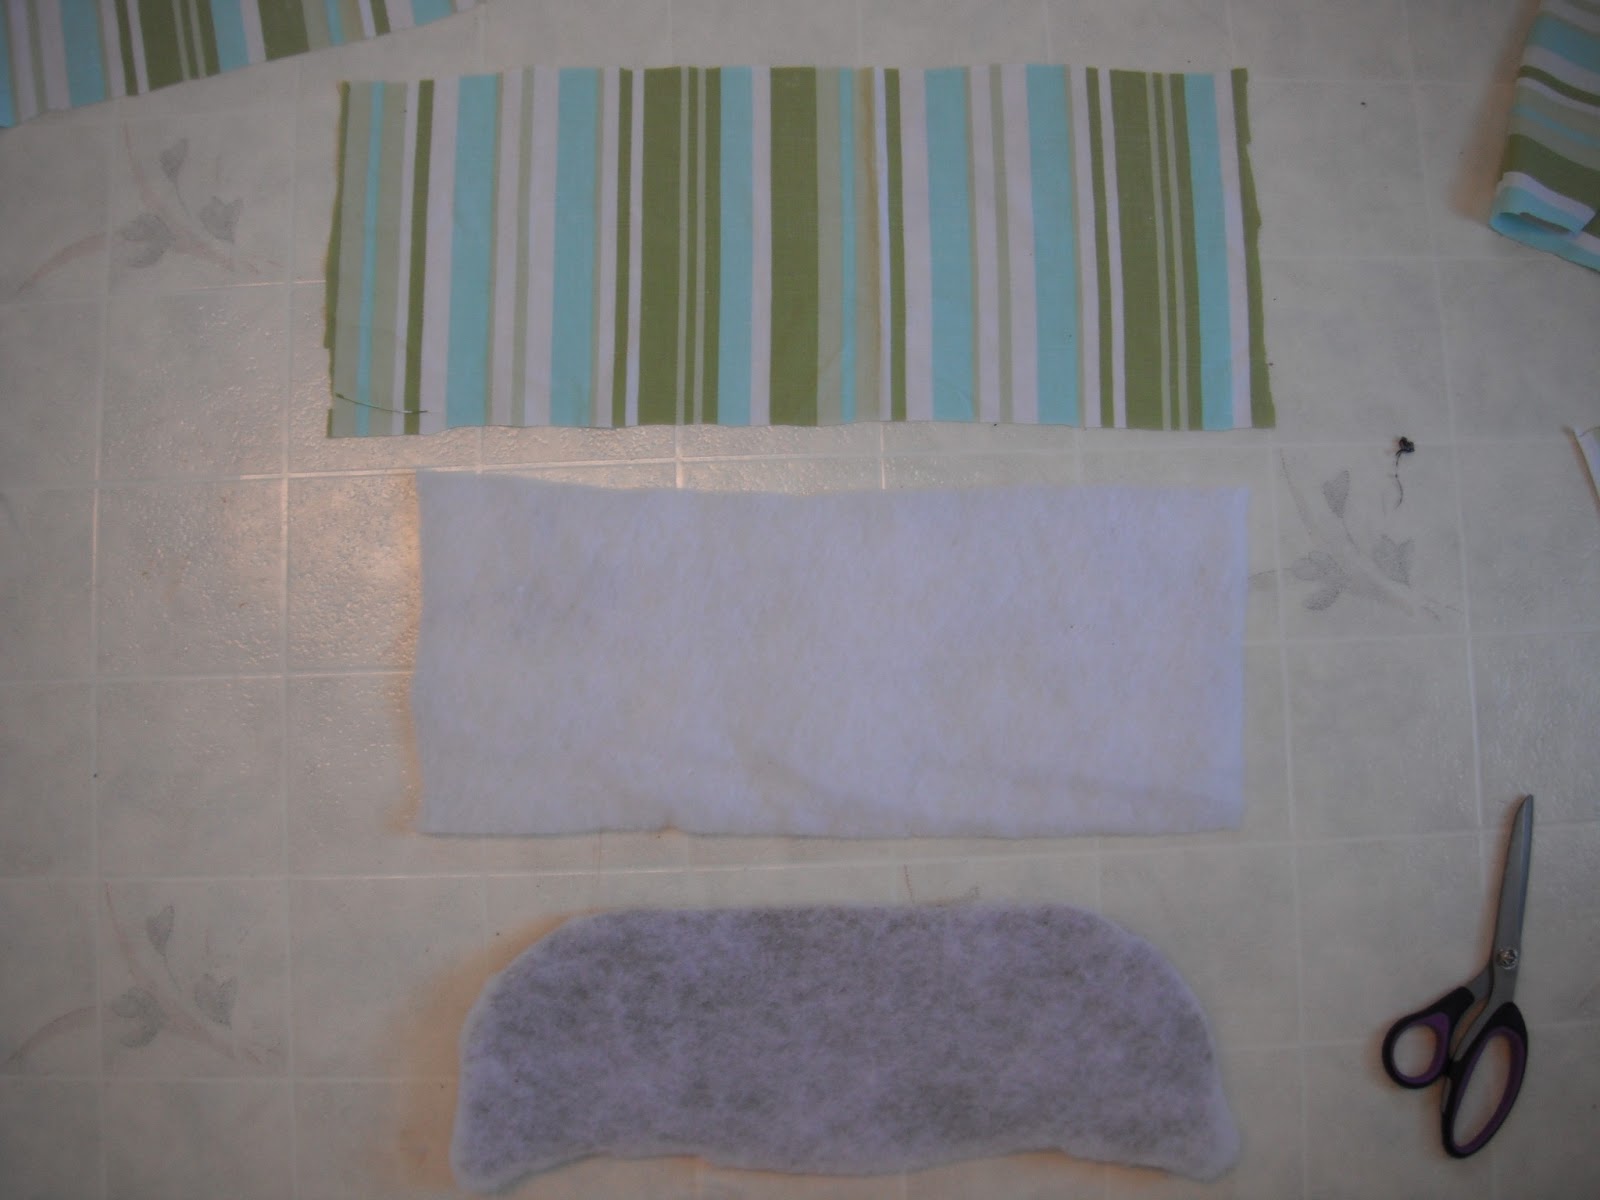
Can you recall the original blocks I was supposed to use?  Well I couldn't very well put that ugly (Orange? What was I thinking!) thing on the back of my new creation.  So the ONLY option obviously (roll eyes) was to tear apart the the old bits again (which are getting quite worn I might add).  I decided to only use the blocks pertaining directly to my Granny and send the rest off to her sister (my great aunt, only fair really).  So now I have six of these blocks to work into the overall design... ding ding ding! Corduroy and horses of course!  I cut the corduroy the right size used turned edge applique for the cream blocks (I'm down to 3 days at this point with quilting/binding/shipping still to go).  Just because I have no time left and I love to push the envelope I also added some pretty cool applique horses to the back.


I quilted the runner with a stipple (originally I was going to use cross hatching but I decided there was enough squares here so a stipple wouldn't come amiss).  Well that's all I'm going to type about this project.  Note to self, corduroy sucks to quilt.

The runner arrived on time (barely), and Granny's 80th was celebrated with a great salmon dinner by my aunt, family, friends, and surprise guests.
Granny and Granddad's Block
Wow it all seams so simple explaining it to you but honestly I antagonized endlessly over every decision.  I'm proud of what I did and I'm happy I gave it my all into the creation for my Granny and Granddad who have taught me more than I even know.

Thursday, April 11, 2013

A Valued Skill

"It's an old quilt, but it was made by her mother.
She just wants to be able to snuggle under it again".
Quilting is a skill.  A skill I'm proud to show off and use to the best of my ability.  My skill is gaining momentum and I admire and sometimes idolize other quilters around me (and in the online community).  I feel as though my skill has substance and value... Until someone mentions $100.  I'm a sucker!  I'm broke, nothing outrageous just the normal young family trying to get by.  But does that give me the right to de-value my (and maybe even your) skills?

So to the point here.  Through a confusing turn of events I ended up agreeing to put a new back on an old quilt and give it a 'quick stipple'.  I didn't get a look at the quilt before I agreed to do it, to a predetermined price of $100.


I wasn't able to quilt the quilt at my home because the owner of the quilt is massively allergic to cats so I had to wait for a Hall Day.  I arrived ready to tackle this 'quick stipple' and found to my horror a lumpy, thread bare, sheep skin stuffed, burst seam, mess of fabric some people would call a quilt.

I can see the love in the quilt though, the stitching is beautiful, original crazy patchwork.  But note right under the green spot, that is thread bare.  So much of the quilt is falling apart, I can't just give this quilt a 'quick stipple' and expect it to hold together, never mind be useful.
Burst seams run rampant, 1 in 5 are burst and need to be fixed. 

So what am I to do?  I know what needs to be done, it needs the sheepskin batting removed, new batting bought, the seams should be meticulously hand sewn together, replacing those patches that are too far gone.

You can imagine my standing there looking at this quilt thinking to myself how much I just want to whack it apart and make a couple throw pillows she could snuggle with instead.   But I can't.  I also can't hand sew those seams together, replace the batting, or replace the worn patches, quilt and bind it for $100.  I also can not just leave it.

So what do I do you ask?  Well I pin the new backing on it and quilt it.  I fix every little seam while I free motion the quilt.  It is not the most tidy job, and I want to just accidentally rip it in half.  Instead I push through and get it done.   Remember those pretty hand stitches, yeah until they catch on your darning foot... every darn time you get close to one!  Ever sew through sheep skin batting... not much fun. Needless to say I was sweating 15 minutes into the project.

I spent 6 hours on the quilt.  I'm over half way done, but I estimate another 6 hours are needed.

$100 divided by 12 hours = $8.30/hour.  Sad but true, my valued skill adds up to under minimum wage.  This is not the first time I have undervalued myself.  I truly hope I have learned my lesson.
My 'Quick Stipple' 


I will be sending a note with this quilt explaining how difficult it was and how lucky she is that I had a soft heart.  I will also request more money for my difficulty if she can.  Also that if she even thinks about washing this quilt again it may disappear into nothing.


Wednesday, April 3, 2013

Cats, Chairs, Chaos

So we moved into our home in the early fall of 2012.  Because we moved inter-provincially we sold most of our big furniture before leaving and have replaced said furniture with cheap non permanent stuff to get us through the renovation (or complete destruction depending on how you look at it) of the entire house.  This includes these $10 plastic covered folding dining chairs (which match perfectly with the folding plastic table).  I'm really not too worried about ambiance these days but after the kittens (smack self in head) I had to start repairing their midnight romps.  


One piece of tape really isn't too bad, but are you seeing this!  The cats are INSANE!!! I may have picked a poor winter to house kittens indoors...  Anyhow over Easter weekend I just couldn't stand the sight any longer (avoidance of the kitchen is detrimental to a happy marriage and the nourishment of children, or so I'm told).  So I grabbed an old sheet, some leftover batting, a stapler, a screwdriver, some scissors and a beverage.

Step 1: Unscrew cheap particle board cushion bases from metal frame.

Step 2: Tear off destroyed kitten saliva soaked mass of plastic and other unidentifiable material from cushion base.

Step 3: Cut perfectly shaped batting to fit cushion base

Step 4: Give up on step three, and rough cut the rest

Step 5: Make another beverage

Step 6: Cut another layer of rectangle pieces of batting to wrap around cushion base

Step 7: Cut fabric in shape large enough to wrap around cushion base

Step 8: Gather all misplaced tools/materials, yell at husband for another beverage, scold children  try and not swear too much at kittens.

Step 9: Layer 2 pieces of batting and one piece of fabric onto cushion base.

Step 10: On back of cushion base stretch fabric firmly and staple into place, continue stapling around entire cushion base, pulling gently but firmly.

Step 11: Try not to staple self, lay off the beverage.

Step 12: Re-screw new beautiful cushions onto metal chair bases.

Step 13: Sit on pretty chair, use thick foam next time.


Notice I got the stripes wrong on the 2nd one in?  Not a bad afternoon.  If anyone is interested in doing this for themselves I would recommend maybe Googling it first, and making sure you have the correct materials on hand before you start LOL.  The funniest part is I made spaghetti for dinner and made the family eat in the living room so they wouldn't get sauce on my nice new chairs... so I'm still avoiding the kitchen.

I'm linking up to The Needle and Thread Network, a great place for Canadian fiber artists... My weekend project may not be art but it's funny.